When creating an illustration, I have a bad habit of not planning my colors out in advance. Usually, I won't begin thinking about my color choices until I'm ready to color the image in Adobe Illustrator. This can be a bit of a problem because I wind up spending a lot of time trying to figure out what colors work well together and constantly tweaking them as I go. This is especially time consuming in Illustrator because every block of color or gradient is it's own separate shape with it's own properties. After all this extra work I usually wind up with a color pallet that is a bit different than what I had originally imagined.
So in order to put a stop to this waste of time and remain more accurate to my original visions, I've decided to start using Photoshop to plan out my color pallete. Photoshop makes it really easy to quickly lay down color with the Brush and Fill tools. It also has a lot of Adjustment features making it simple to change hue, saturation, color balance, and many others. Here's how I did it...
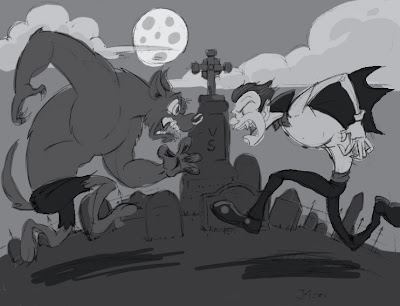
Using my pencils as a guide, I start by blocking in the shades. For an effective composition it's important to keep the shade of each color in mind. Each major shape should be distinguishable against the others. If the image reads clearly in black and white then the composition works.

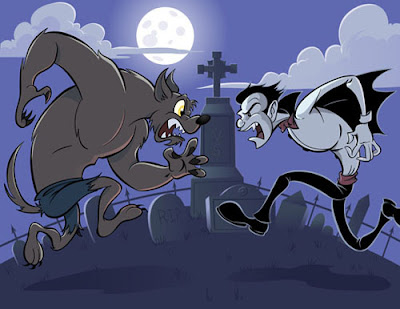
I knew this illustration was going to be a night scene with some cool colors. Since I had already laid down the shades, this was a simple matter of colorizing the image. I did this by using the
Hue/saturation option in the
Adjustments menu and checking the colorize box. With the slighty warmer colors on the vampire and wolf, I did the same thing, moving the hue slider around to make the colors a little warmer.
Now, I can just save the image as a JPEG and place it in the illustrator file and use the eyedropper tool to pick my colors.
In the end this method of planning helped speed the process along and made the coloring process much easier.


